3 Steps to Newborn Stations: A Space-Saving Alternative to the Newborn Cart
This post may contain affiliate links, meaning I get a commission if you decide to make a purchase through my links, at no cost to you. Please read my terms of use policy for more info.
Welcoming a newborn means adapting your home to meet both your baby’s needs and your own—without cluttering every available surface. If the newborn cart trend is too bulky for your style or space, consider setting up newborn stations with strategically placed diaper caddies. This space-saving approach keeps essentials within reach, making diaper changes and feedings more efficient, no matter where you are in your home.
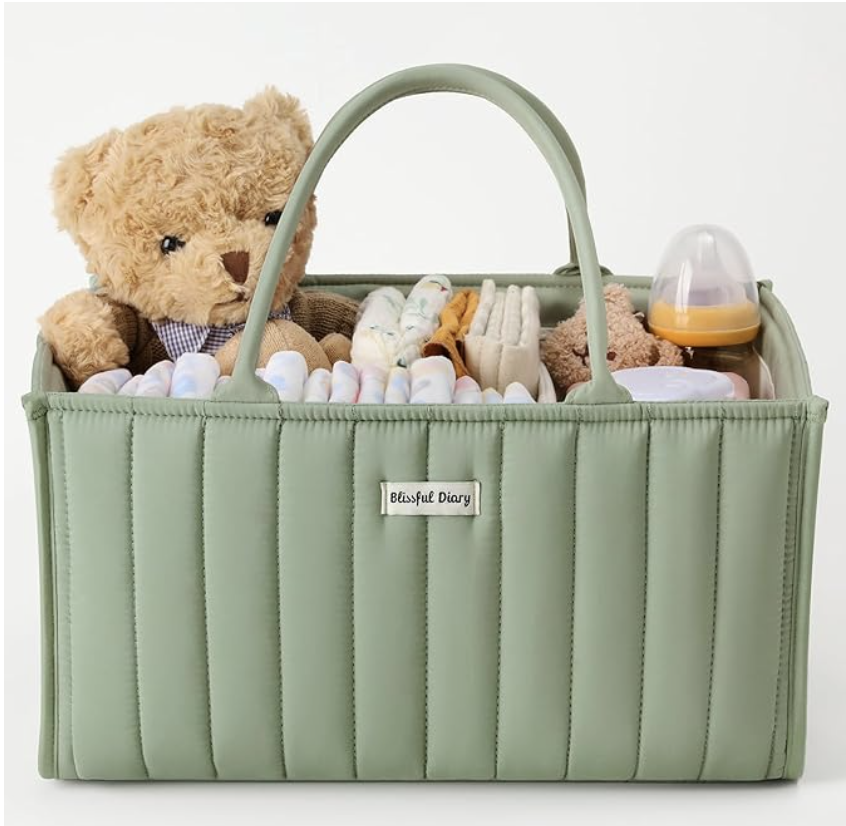
Step 1: Choosing the Right Diaper Caddy
A well-organized diaper caddy is the foundation of your newborn station. When selecting one, consider the following factors:
Space & Compartments – Look for a caddy with multiple openings of varying sizes to store different items neatly. At least three large sections and several smaller pockets will help separate diapers, wipes, and creams.
Material & Portability – Opt for an easy-to-clean material like felt, plastic, or canvas. A lightweight design with handles ensures you can move it effortlessly between rooms.
Size & Storage Capacity – Make sure it’s compact enough to fit in your designated spaces while still holding all essentials.
Here are some suggestions (all are linked):
Step 2: Stocking the Diaper Caddy
Each newborn station should include all the essentials you might need for quick changes, feedings, and self-care. Here’s what to stock (check the bottom of the page for some of my favorites used with both of my boys):
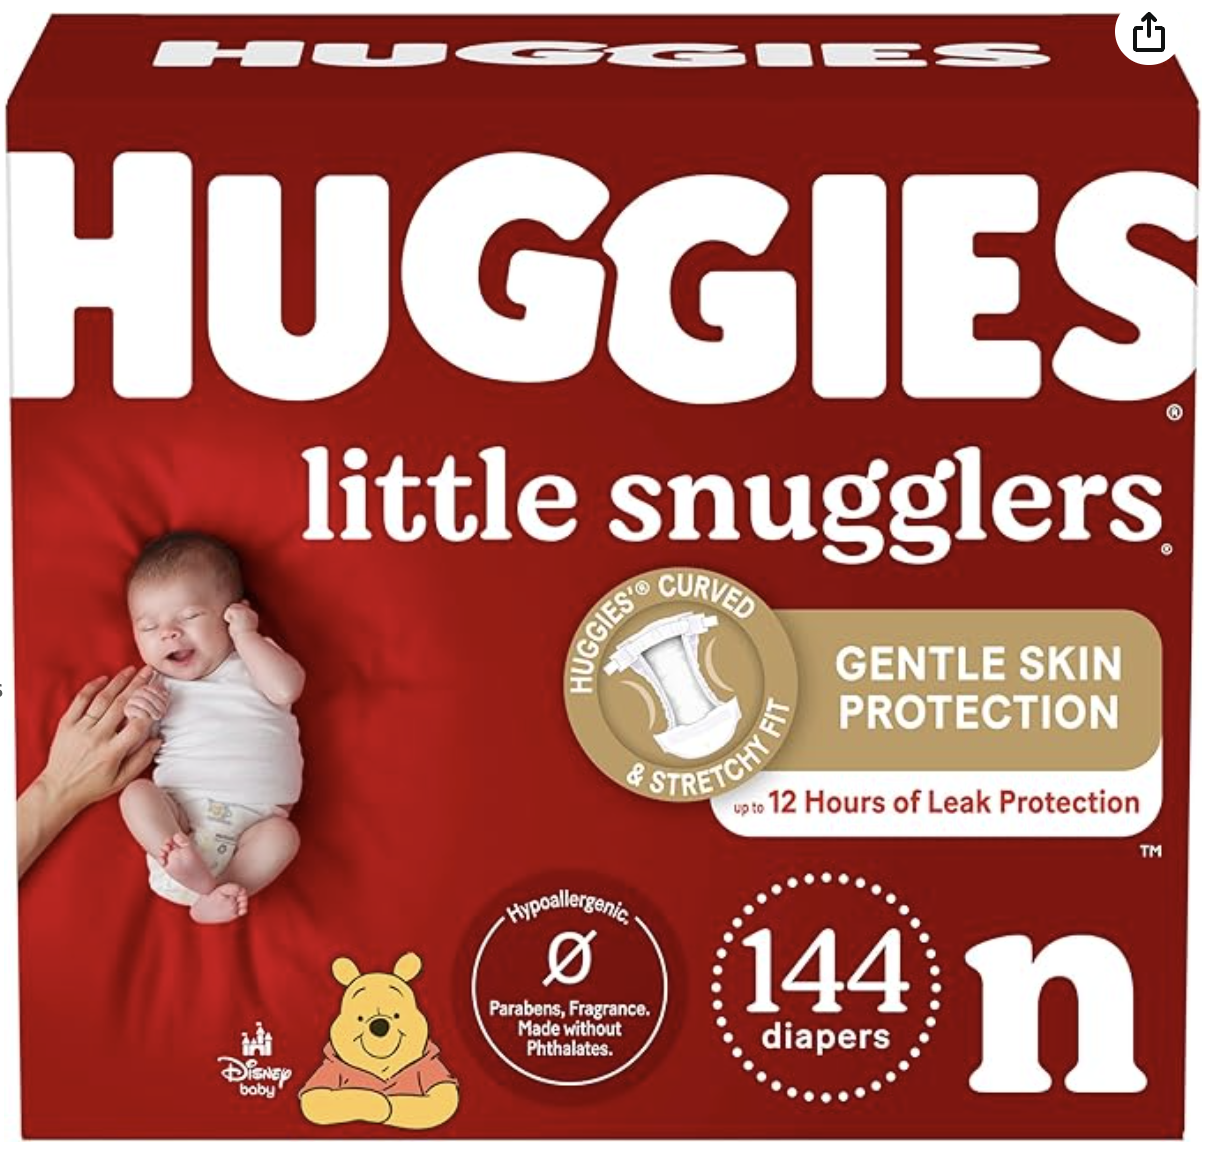
Diapers – Keep a supply of newborn or size 1 diapers.
Wipes – A pack of fragrance-free, sensitive wipes.
Diaper Cream & Bum Brush – Aquaphor or another barrier cream, plus a bum brush for easy application.
Clean Pajamas/Swaddle – In case of diaper blowouts or spit-ups.
Burp Cloths – For feedings and quick clean-ups.
Pacifier – If your baby takes one, having an extra on hand is helpful.
Haakaa Pump – For catching letdown during feedings.
Nipple Cream – A must-have for breastfeeding moms to prevent soreness.
Mom Snacks – A small, high-protein snack like granola bars or nuts for those long nights.
Hair Tie & Chapstick – Small but essential items to keep you comfortable.
Hand Sanitizer – For quick sanitizing before and after diaper changes.
Step 3: Setting Up Multiple Stations
Instead of running to the nursery for every diaper change, place a stocked diaper caddy in each major area of your home. Consider setting up at least one per floor if you live in a multi-level home. Suggested locations include:
Living Room – Perfect for daytime convenience.
Bedroom/Nightstand – A nighttime lifesaver for middle-of-the-night changes.
Bathroom – Handy for quick clean-ups and diaper changes.
By having a newborn station in key areas, you’ll eliminate the stress of scrambling for supplies and create a smoother, more organized daily routine.
Final Thoughts
Ditching the bulky newborn cart in favor of portable diaper caddies ensures you’re always prepared without taking up valuable space. With a little planning and organization, your newborn stations will keep essentials accessible, making the early months with your baby a little easier and a lot less cluttered. I personally switched to two of these stations (one in the nursery and one in the Master bedroom) at about 6 months postpartum and plan to continue using it past my little one’s first birthday.
Here are some favorites of mine to stock in the diaper caddy:


